


Model 3 Mud Flaps – Matte Black Reinforced
Model 3 Mud Flaps – Matte Black Reinforced
Article Number: 10424
10+ in stock
✔ Free shipping over 100 € (to pickup point)*
✔ 4,6 ⭐️ on Google reviews


Collapsible content
Description
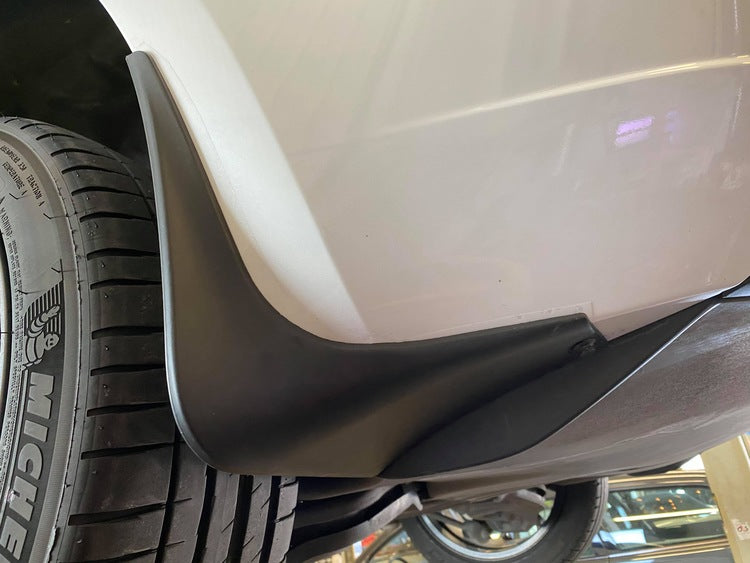
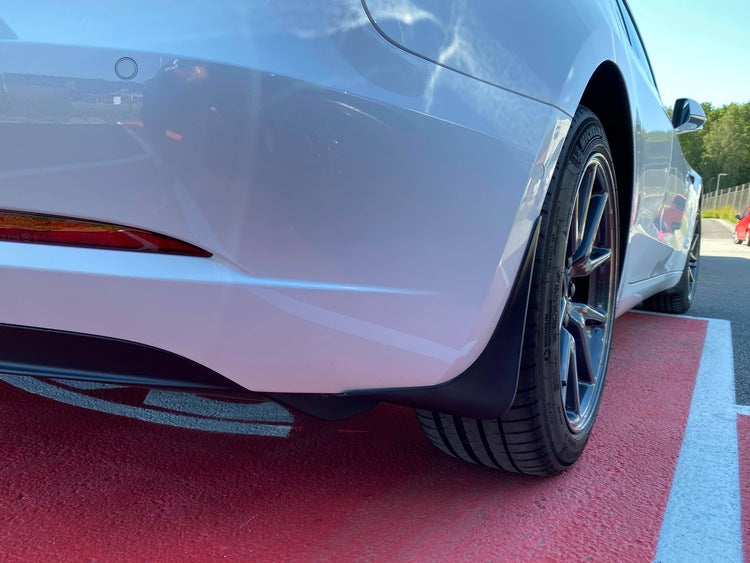
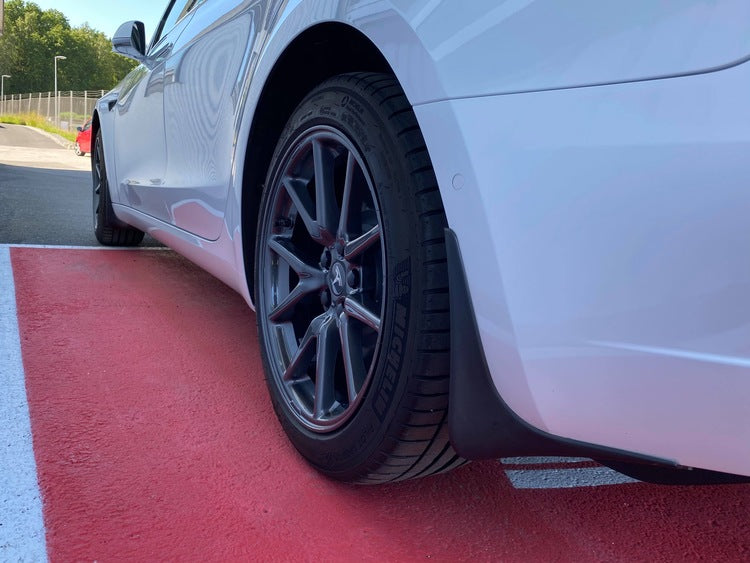
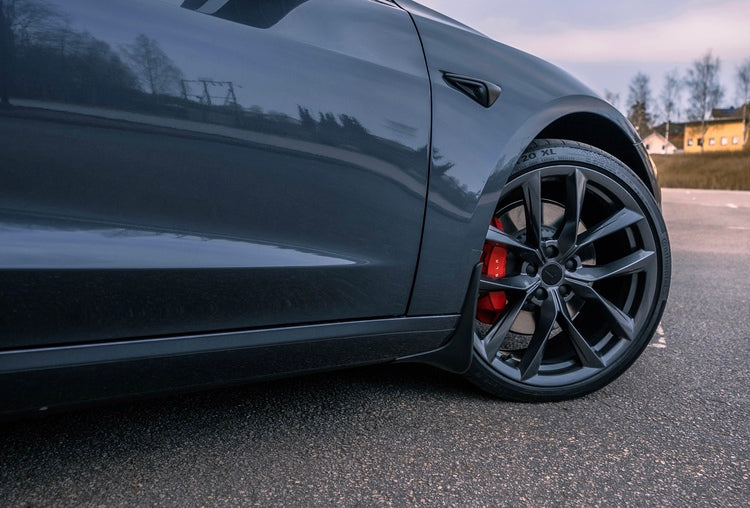
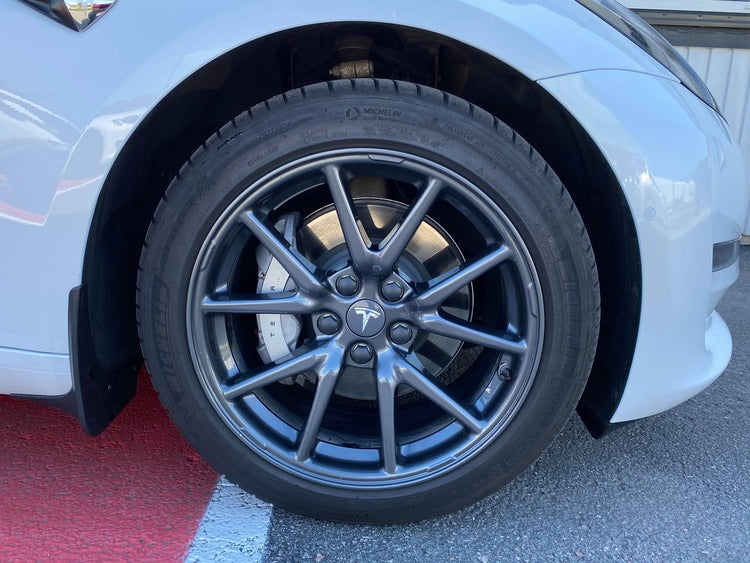
Our durable mud flaps provide simple and stylish protection for your Model 3!
The matte black reinforced mud flaps are extra robust and especially suitable for winters with harsh weather conditions. Designed to seamlessly blend with the car’s lines, they protect effectively against dirt, road salt, and gravel thrown up by the wheels. The result looks just like a genuine OEM accessory while helping extend the life of your vehicle.
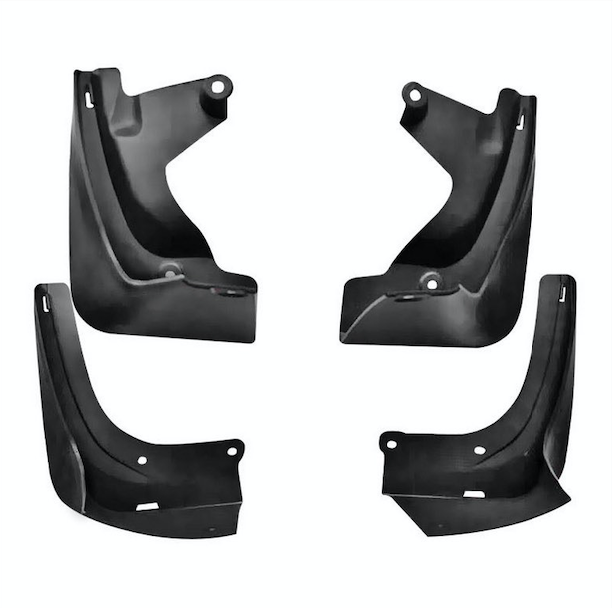
Includes:
4 mud flaps (front left, front right, rear left, and rear right) with matching clips and screws for installation
Fits:
- Tesla Model 3 2017–2023
Installation:
Installation usually takes about 10 minutes per mud flap, even for someone with no prior car experience.
Front Mud Flaps:
Start by removing the two clips on the inside of the wheel arch, then hold the mud flaps up against the car and wheel housing. Insert the new clips included in the package and use the metal clips in the center to create a tighter fit. At the top of each mud flap, there’s a small tab that should be tucked behind the metal edge in the wheel arch.
The front mud flaps also have a screw hole underneath for those who wish to fasten them into the plastic under the car (this screw hole does not align with any existing hole). It’s not required, but we recommend it for a more stable fit, especially when driving over bumps or curbs.
Rear Mud Flaps:
For the rear mud flaps, in addition to the clips inside the wheel arch, there’s a 10 mm screw behind the wheel arch that must be removed during installation. Once the clips and screw are removed, it’s time to mount the mud flap.
Hold the mud flap against the car and wheel housing. Insert the new clips included in the package and use the metal clips in the center for a tighter fit. At the top of each mud flap, there’s a small tab that should be tucked behind the panel in the wheel arch, while the 10 mm screw behind the car should be reattached — this time with the mud flap aligned correctly with the hole.
There’s also a small nut holding the “arm” of the mud flap that extends into the wheel housing. Remove the existing nut, press the arm of the mud flap onto the screw sticking out in the wheel arch, and then reinstall the nut/clip securely.
Specifications
| SKU | 10424 |
| GTIN | |
| Category | Motor Vehicle Parts > Vehicle Parts & Accessories > Vehicles & Parts > Motor Vehicle Frame & Body Parts |
FAQ
Links
Other
Delivery:
Items in stock are usually dispatched within 1–2 business days. The live stock status is always visible on our website.
Orders received before 1:00 PM are generally shipped the same day from our warehouse. Orders placed after this time or during weekends are processed the next business day. Please note that delivery times may vary depending on the selected shipping method and destination country, with a general delivery time of 1–3 business days for all stocked items. We cannot guarantee delivery within 3 days during periods of high demand or unexpected carrier delays.
Important to know:
Unfortunately, we can never guarantee that an accessory or spare part will fit your vehicle 100%. As long as the correct model and model year are selected, the part should fit – but variations may still occur. If you are unsure, we recommend contacting us before placing your order – we’re happy to help you check!
-
XPE Rubber Mats Tesla Model Y - Package L
Vendor:HamphiRegular price From €236,95 EURRegular price€349,95 EURSale price From €236,95 EURSale -
Tesla Charging Cable with Button Type 2 Charger – 11 kW
Vendor:HamphiRegular price From €236,95 EURRegular price€262,95 EURSale price From €236,95 EURSale -
License Plate List with Text
Vendor:HamphiRegular price From €1,95 EURRegular price€8,95 EURSale price From €1,95 EURSale -
Air Filter Protection Mesh – Rear Seat Tesla Model 3 & Y
Vendor:HamphiRegular price €8,95 EURRegular price€13,95 EURSale price €8,95 EURSale -
Charging Port Protector for Electric Cars – CCS Cover
Vendor:HamphiRegular price €13,95 EURRegular price€17,95 EURSale price €13,95 EURSale -
XPE Rubber Mats Tesla Model Y - Package M
Vendor:HamphiRegular price From €218,95 EURRegular price€296,95 EURSale price From €218,95 EURSale -
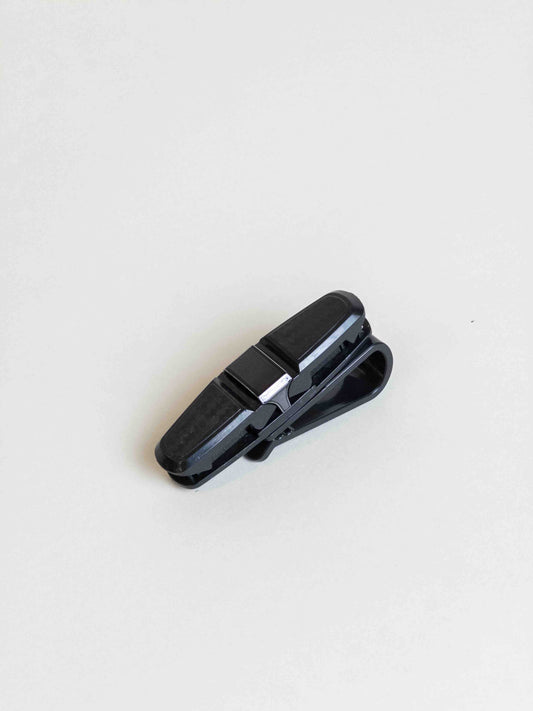
Sunglasses Holder Sun Visor
Vendor:HamphiRegular price €8,95 EURRegular price€8,95 EURSale price €8,95 EUR -
License Plate List with personal Text
Vendor:HamphiRegular price €17,95 EURRegular price -
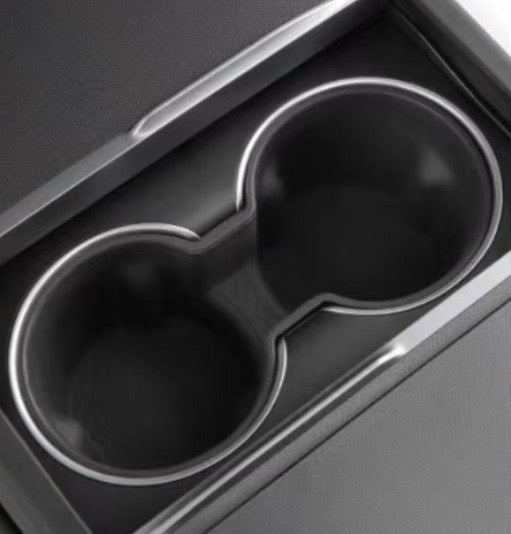
Model 3 Highland silicone cup holder
Vendor:HamphiRegular price €17,95 EURRegular price€17,95 EURSale price €17,95 EUR -
Storage in the Doors (4-pack) Tesla Model Y
Vendor:HamphiRegular price €30,95 EURRegular price -
Rubber Mats Large Package XPE Tesla Model S 2021+
Vendor:HamphiRegular price €148,95 EURRegular price€384,95 EURSale price €148,95 EURSale -
Rubber mats TPE + XPE Tesla Model Y - All-Weather Floor Liners
Vendor:HamphiRegular price €131,95 EURRegular price€131,95 EURSale price €131,95 EUR -
Rubber mats XPE Tesla Model 3 - All-Weather Floor Liners
Vendor:HamphiRegular price From €131,95 EURRegular price€139,95 EURSale price From €131,95 EURSold out -
TPE Rubber Mats Tesla Model Y - Package L - All-Weather Floor Liners
Vendor:HamphiRegular price €236,95 EURRegular price€262,95 EURSale price €236,95 EURSale -
Model 3 Highland rubber mats large package TPE + XPE
Vendor:HamphiRegular price €262,95 EURRegular price€314,95 EURSale price €262,95 EURSale -
XPE Rubber Mats Tesla Model 3 - Package M
Vendor:HamphiRegular price From €218,95 EURRegular price€279,95 EURSale price From €218,95 EURSold out -
Storage Box Fabric Tesla Model Y Juniper / Model 3 Highland
Vendor:HamphiRegular price €17,95 EURRegular price€21,95 EURSale price €17,95 EURSold out -
Model 3 Highland cup holder insert black
Vendor:HamphiRegular price €8,95 EURRegular price€8,95 EURSale price €8,95 EUR -
Model 3 Highland center console armrest sillicon pad
Vendor:HamphiRegular price €8,95 EURRegular price€17,95 EURSale price €8,95 EURSale -
Rubber mats XPE Tesla Model Y
Vendor:HamphiRegular price From €131,95 EURRegular price€139,95 EURSale price From €131,95 EURSale -
Bag for Charging Cable
Vendor:HamphiRegular price €17,95 EURRegular price -
Model 3 Highland trunk storage boxes
Vendor:HamphiRegular price €87,95 EURRegular price -
Side Mirrors Carbon Fiber Matt Tesla Model Y
Vendor:HamphiRegular price €131,95 EURRegular price -
Safety net front Tesla Model 3 Highland
Vendor:HamphiRegular price €52,95 EURRegular price€61,95 EURSale price €52,95 EURSale -
TPE + XPE Rubber Mats Tesla Model Y - Package L - All Weather Floor Liners
Vendor:HamphiRegular price €236,95 EURRegular price€340,95 EURSale price €236,95 EURSale


Do you want installation?
Contact us below to get quotation on mounting
- Choosing a selection results in a full page refresh.
- Opens in a new window.